"How To....."
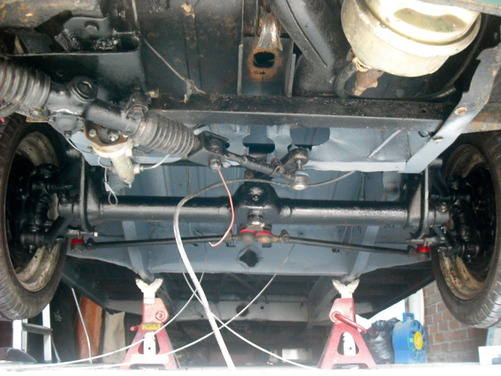
RHD Steering Rack Conversion
(November 10, 2009)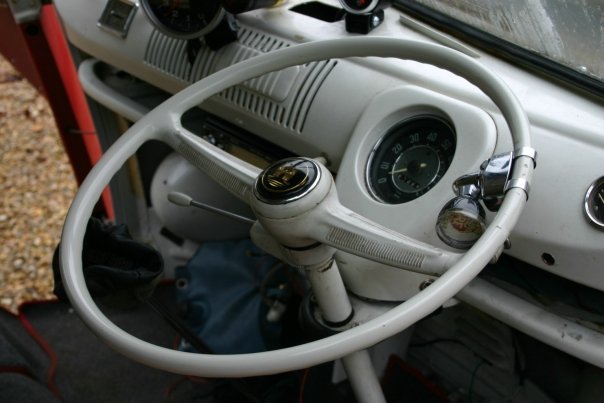
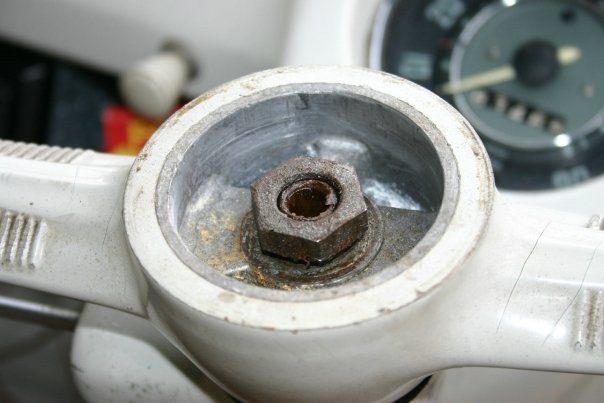
Horn button removed, and pull the wire away.
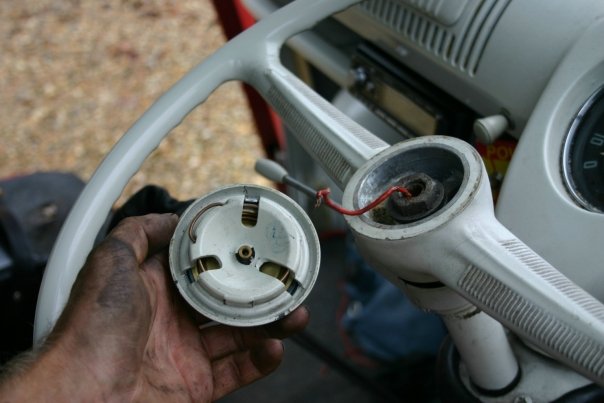
Slacken the nut.
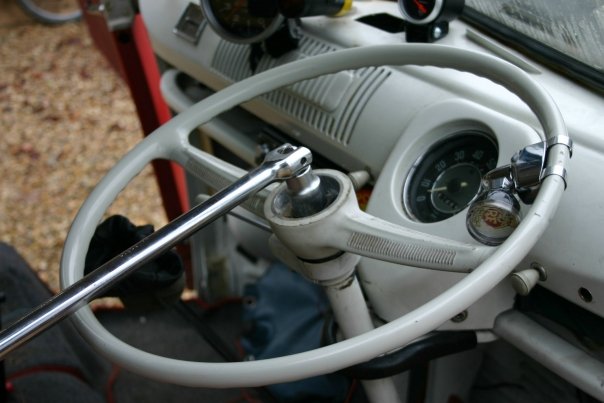
Leave the nut proud of the column's thread.
Indicator housing needs to come off.
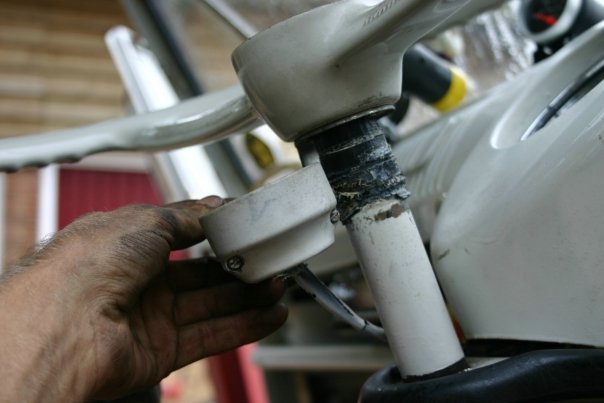
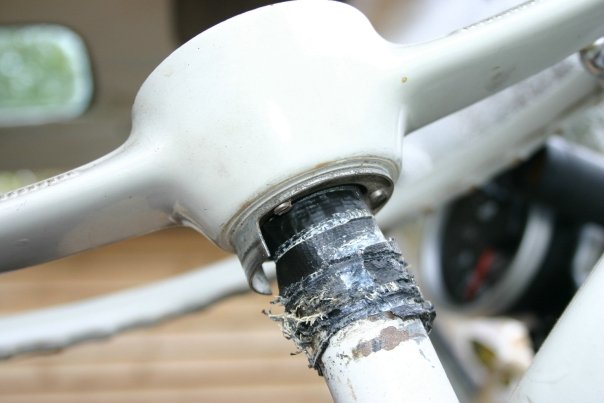
Indicator cancel ring needs to be removed.
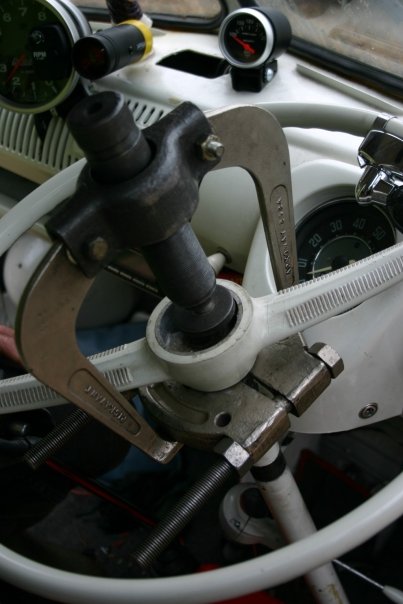
The use of a puller to remove the steering wheel without damage. Remember to support the steering wheel underneath with a spreader plate.
Damaged column thread from previous steering wheel removal. This damage can be repaired but is easily avoided with the correct tools.
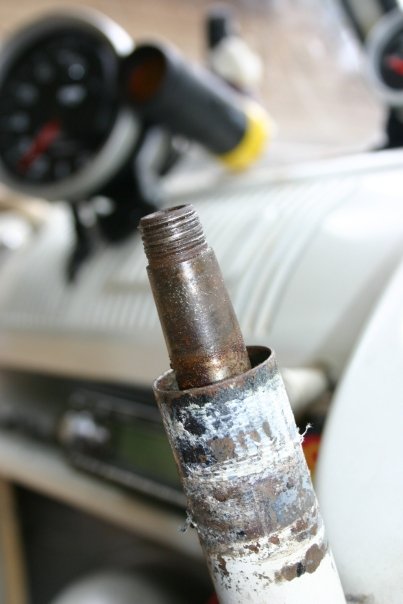
Before you remove any more components it is advisable to record some dimensions.
Measure the amount of inner steering column protruding from the outer tube. Also the distance from the lip of the outer tube down to the support bracket. This will enable you to finish the installation with the steering wheel the factory distance from the dash board.
Underside bolts holding the bracket have to come off.
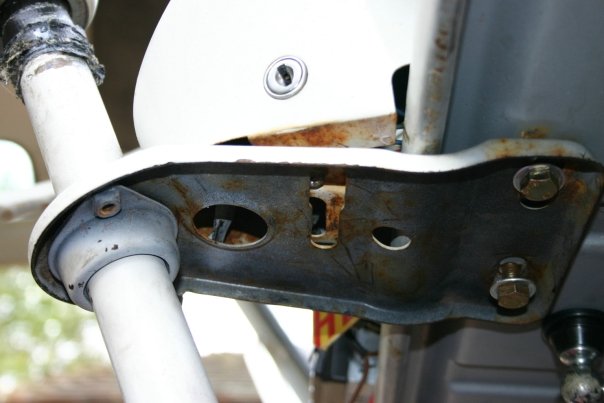
OG Steering box with aftermarket guard.
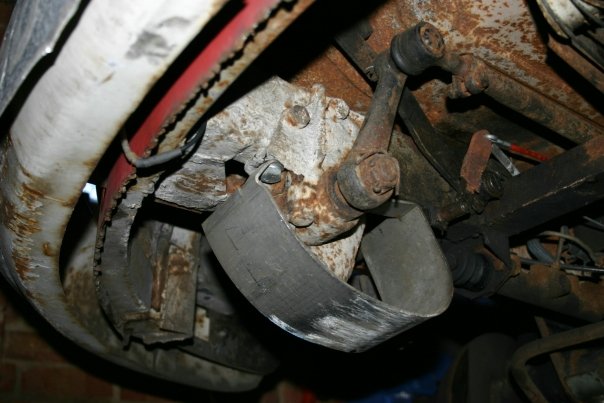
Steering box removed.
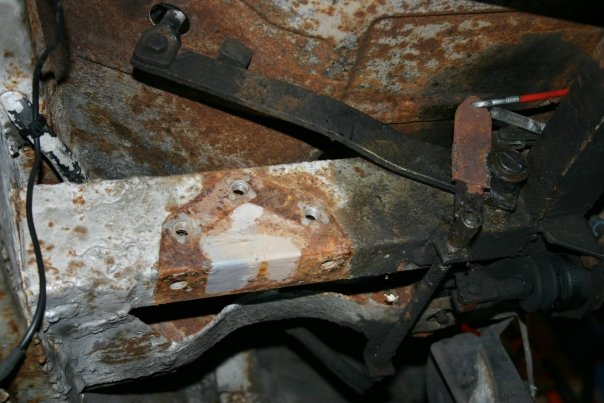
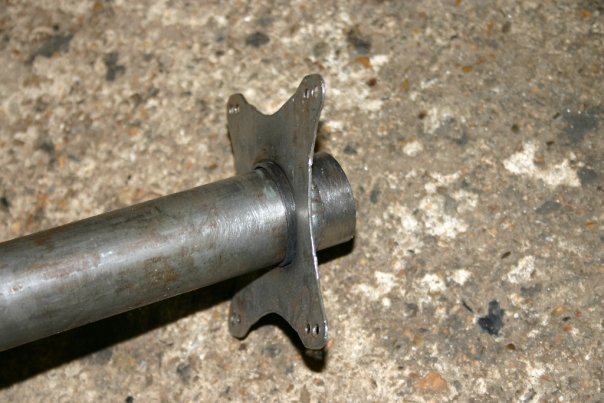
Trial fitting the new column outer tube.
Set the outer tube to the same height off the mounting bracket.
Fabricate a support bracket for the bottom of the column.
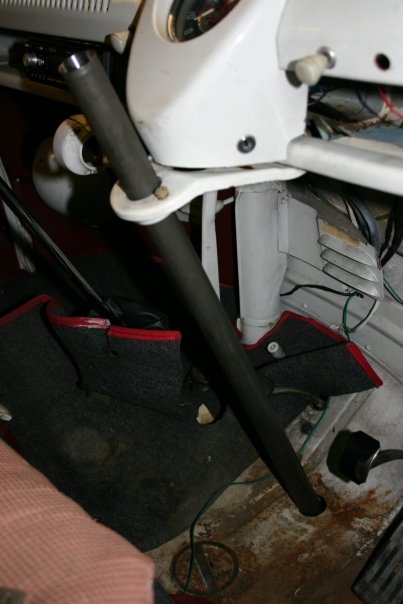
Mounting bracket all welded up, ready for painting.
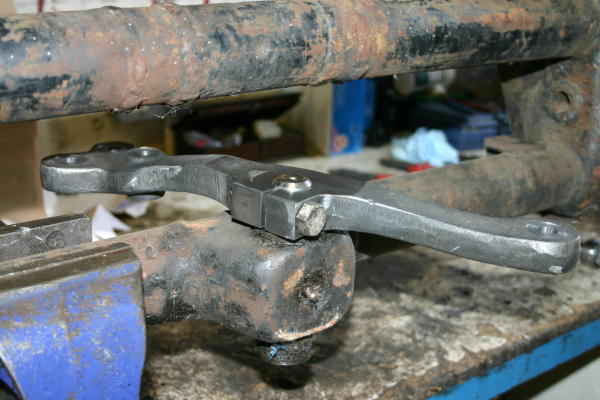
New custom steering control arm installed.
Join the new upper section of the inner column to the modified Rascal lower section. This will be a press fit for now.
With the outer tube fabricated, it can be offered back into position and the inner steering column slid in place. The factory top bearing will centralise the inner column. Use of the custom rubber bush with locate the bottom of the column within the tube correctly.
With the inner column held in position, attach the UJ to the splined end of the new inner column, (set the UJ in the middle of it's available adjustment), and trial fit the rack for alignment. Check for clearance issues on the RHD accel' pedal cross linkage.

Install the adjustable pushrod. Set the rack in the middle of its stroke & adjust the custom control arm so the wheels are pointing forwards.
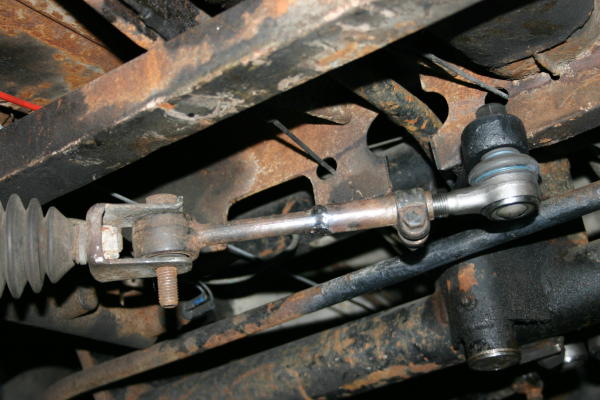
Install the rack with mounting plate & front mount. With the rack in it's mid point and the wheels set straight ahead, the rack and adjustable push rod should be set straight.
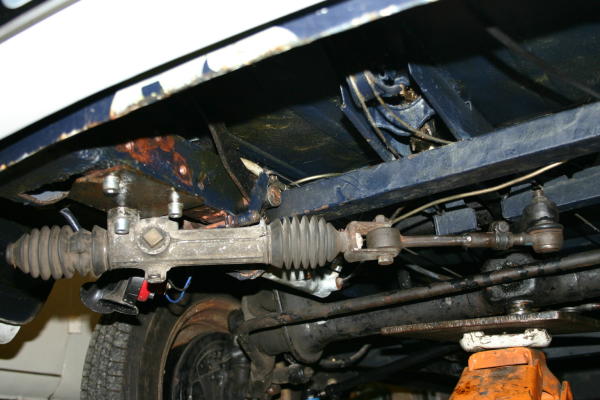
Next recheck outer tube distance from mounting plate is still correct. Adjust as necessary.
Then check that the inner column protrudes the same amount as first measured with the OG column. Note any differences. Temporarily install the woodruff key & steering wheel. (no need to install the spring or nut). Check that the steering wheel is square to the dashboard. Adjust the position of the steering as necessary by simply rotating the steering wheel while preventing the wheels from turning. (The new inner section of steering wheel will rotate in the 'press fit' Rascal section).
Remove the steering rack and withdraw the inner column completely, leaving the UJ connected to the column. Now adjust the total lenth of column by the amount noted earlier. Weld the new inner column to the modified Rascal rack.
Refit the inner column & steering rack, re-measure the inner column protrudes the same amount as first measured with the OG column. Fine tune this measurement on the splined section of the Rascal column.
Tighten UJ mounting bolts.
Tighten rack mounting bolts
Tighten outer tube lower mounting bolts & upper column support bracket.
Refit bearing split washer.
Refit spring & woodruff key
Refit steering wheel & torque nut.
Refit horn push.
Refit the indicator housing.
Now you're ready to have the tracking checked at a local tyre shop.
Customer self fit installation photo.
